
Article by Colette Nichol, Solo Filmmaker and Story Strategist
Estimated reading time: 8 minutes
Cinematic lighting techniques can help you tell a story and create more arresting imagery. But they can also simply help you to make your subjects look better. Whether you’re planning a short film or looking to become a freelance filmmaker, you need to know how to light.
Table of contents
BUT FIRST A STORY
“Mmmm, can we try another one?”
“I think my eyes need to be open more.”
“Yes! I like that one and that one. I can’t decide….which one…”
She’s finally smiling.
I’ve just spent the last two days doing something I never (in a trillion years) thought I’d be doing: taking grad portraits.
Yup, those cap and gown pictures that mark a teen’s entrance into the big wide adult world and the end (thank god!) of high school.
Why was I doing this?
Well, one of my clients is a school. Since the photo studio that they typically use is closed right now (thank you pandemonium), they wanted to host the grad photos themselves. Side note: it’s actually pretty easy to do physical distancing when you’re using a 100mm lens!
There’s one lesson I’ve confirmed and re-confirmed in the past two days of knocking out portraits that I want to share with you.

Lighting Is Personal
Nope. Lighting is exceptionally personal. If you’re actually trying to shape light, your setup will need to change with each subject. You’ll create a lighting setup that makes one person look like Kate Moss.
But when the next person sits down under the same lights, they look flat and lifeless.
In a video interview setting, it’s common to throw up two big lights, stick them at a 30-40 degree angle from the subject, angle them downward, and call it a day. You’re just aiming to get a clean wash of light with no ugly shadows.
If you have next to no time, then fair enough. I won’t judge you. Even if you have tons of time, I still won’t judge you. Lighting is difficult. And I’ve frequently had to do the throw-two-lights-up-and-call-it-a-day approach.
But let’s be clear: treating lighting with a one-size-fits-all approach is a bit like saying you can do French cooking with margarine, and nobody will know the difference.
Oh, they’ll know the difference alright!
So, some lighting tips—
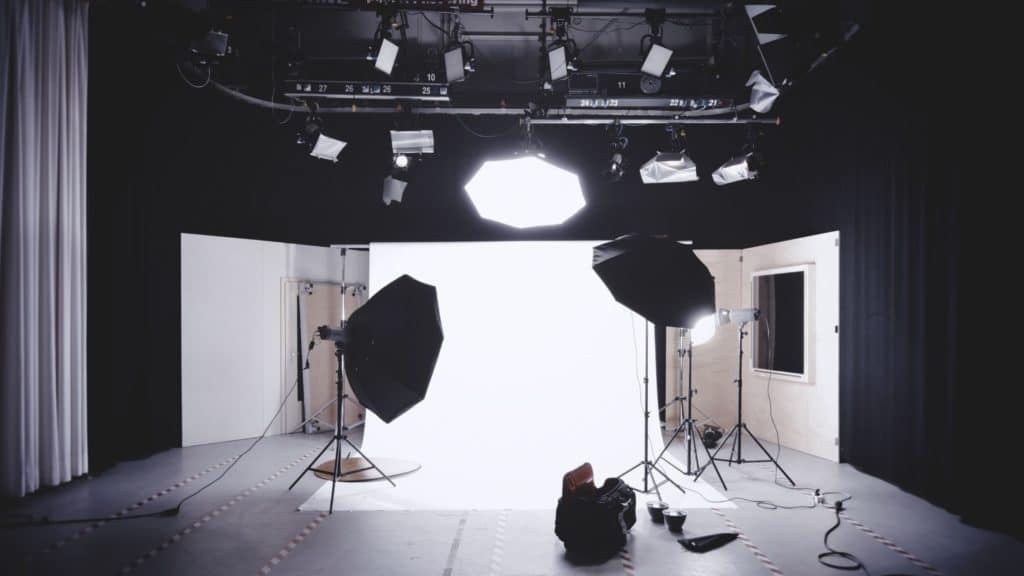
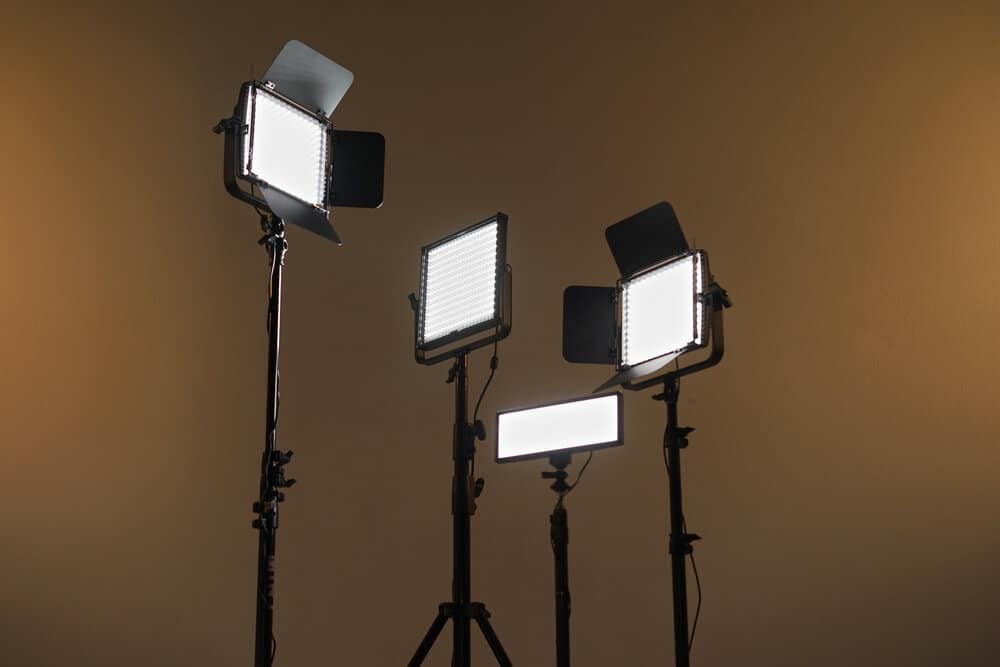
Cinematic Lighting Techniques and Tips for Film, Video, or Photography
There are four main things to look at when lighting the human face.
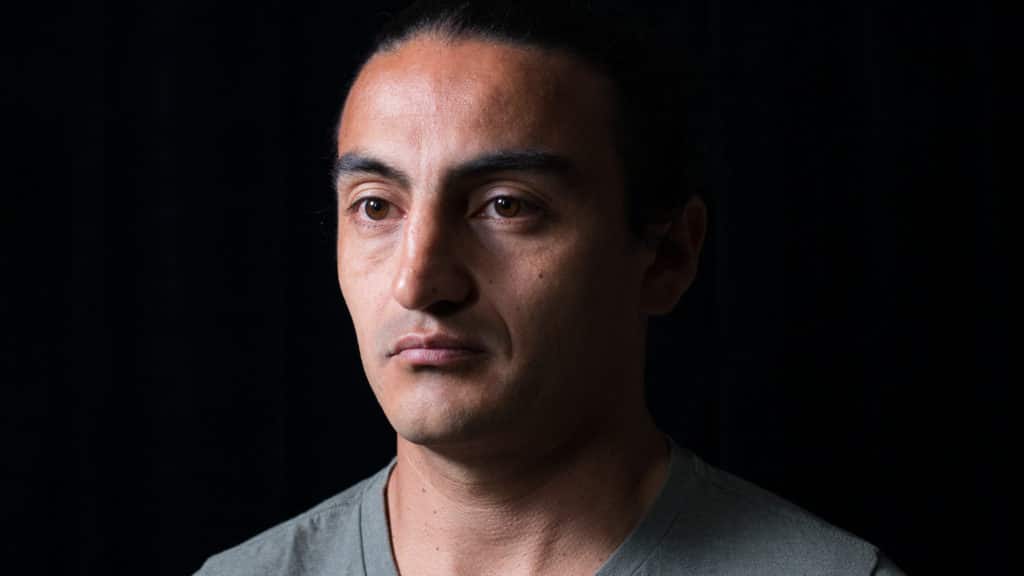
1. Be aware of the subject’s nose.
Make sure the subject has a complementary nose shadow. The number one thing people don’t like about their faces is the schnoz. Lighting can help. Move them and angle them (or the lights) to get a slim nose shadow. If the nose shadow is bad, try moving the light more to the side or bring it higher up and angle it downward. Then bring in another light as your fill light to soften the shadow.
2. Observe the width of the subject’s face and how it interacts with your lighting.
You can slim the face by using shadows and by filming your subject slightly angled away from the camera. If you want the face to be slimmer make sure that the side of the face that is more SHADED is CLOSER to the camera. This is automatically slimming.
3. Watch out for hair shadows!
The most annoying thing to look at when video editing is a big hair shadow that you didn’t notice in the moment. Hair can often be so big (in a good way!) that it creates a shadow on the face or neck. (The same thing can happen with big fake eyelashes.) So keep a close eye on what’s happening under the subject’s chin and on their temples as that’s where you’re going to get the strange hair shadows. To get rid of those shadows you need to either bring the lights more forward (less to the side) or a add a big fill light. Or you can also adjust the hair. Sometimes dealing with the hair is easier than trying to re-light.
4. Make sure you’ve got catchlights in the eyes and NO reflection in glasses.
How many times have I seen some innocent videographer’s lights reflected in a subject’s glasses? Oh, a lot of times. It’s actually not as distracting as it sounds—depending on the lights. But it’s a lot better to have a clean look for the glasses. That means pulling those lights further to the sides.
If you’ve got lights reflected in your subject’s glasses, pull the lights further away to the sides, angled in, and get the subject to bob their head all over the place to check where the reflection occurs. Sometimes you’ll also need to bring the lights higher up.
If they aren’t wearing glasses, life becomes easier. Now just make sure (if it’s story-appropriate) that you’ve got little points of light in your subject’s eyes. These are called catchlights and they make your subject come alive!
While these four things are absolutely critical to lighting a subject’s face well, they don’t do you much good if you don’t know the basics of lighting.

The Most Basic Elements of Lighting
The subject of lighting for the film is vast. So for today, I just want to share a video with you that I made a while ago. It’s about diffusion.
The key to understanding lighting is knowing the difference between soft light and hard light.
Once you understand that difference on a deep Jedi level, your lighting will take off like a hurdler in the Olympics. You’ll go from so-so lighting to incredible lighting.
Soft Lighting
Soft lighting wraps around a subject’s face and body.
It envelops them. Soft light in nature is the sun tucked behind the gauzy diffusion of full cloud coverage. An overcast grey day creates the ultimate soft light. In the studio, you soften a light by adding a softbox, diffusion gel, or shooting through a filmy material called silks.
Hard Lighting
Hard light, in contrast, is all sharp lines and shadows.
Think of that light from the Batman movies. You know…the bat light. Think about the sun at high noon on a sunny day. Think of the long shadows in a Western film. In the studio, hard lights have lenses on them that allow you to focus the light to create a sharp stream of targeted light.
How To Choose Soft Light or Hard Light
When approaching a scene in a film, you need to start with this question: Do I need soft light or hard light?
The answer comes back to the story you’re telling, of course. Are we doing drama or romance? Do you want a cozy feeling or a tense feeling? There’s your answer! Let the lighting suit the story and the mood.
Great, now, take 5 minutes and watch this video.
You’ll learn about diffusion, which is the KEY to creating soft lighting.
Now, remember: lighting matters WAY MORE than your camera.
Don’t obsess over your camera, obsess over your lighting. The difference between a pro and an amateur is an understanding of lighting.
Why’s that? Because a pro can take a $200 camera and create something beautiful simply because they understand lighting.
Not a pro yet? Don’t worry! You’ll get there!
Keep reading this blog AND sign up to get free filmmaking tips and a 7-part video series that’ll take your videos from MEH to MASTERFUL!
Filmmaking Techniques Articles:
RELATED POST: Cinematic Lighting For Filmmaking
➩ The Filmmaking Basics Every Beginner Needs to Know
➩ Three Basic Rules of Visual Storytelling for Filmmaking
➩ How I Got Paid to Learn Documentary Filmmaking
➩ The 10 Elements of a Good Story for Filmmaking (and everything else)
Learn Filmmaking and Get the Gear Guide
If you’re interested in learning filmmaking, check out the Solo Filmmaking Mentorship Program I created for aspiring filmmakers and video creators. It usually goes live once per year. So I recommend getting the Story Envelope Filmmaking letter which comes out a couple of times per month. That way, you can get filmmaking tips for free and find out when the filmmaking course is going live again.
Also, before you go, grab the Solo Filmmaking Gear Guide and Checklist for Beginners.

About the Author
Hi! I’m Colette Nichol. I’m a solo filmmaker and story strategist based out of rainy Vancouver, Canada. I’ve been making videos and micro films for small businesses and global brands since 2014.
Plus, I LOVE to help aspiring filmmakers pursue their dreams and start making films. This blog is designed to help you gain the knowledge you need to become a filmmaker.
If you want more, get on the waitlist for the Story Envelope Academy Solo Filmmaking Mentorship Program. It opens up one time per year and is the best way to become a filmmaking or video pro fast!
CLICK HERE to get on the solo filmmaking mentorship waitlist.
")