
Article by Colette Nichol, Solo Filmmaker and Story Strategist
Learn the basics of cinematic lighting for filmmaking in this epic blog post.
Use Cinematic Lighting to Achieve Creative Control
You’re a filmmaker, videographer, or creative media artist, and you’re sick of not feeling totally in control of your imagery.
You know that becoming skilled at cinematic lighting will mean:
- You won’t be reliant on the sun co-operating for you to get the shots you need
- You won’t have to schedule every shoot at a time of day when perfect cinematic lighting will naturally be gracing your location
- You’ll be able to re-create looks that will help you tell a story
- You’ll have creative control!
You’re here to find out more about cinematic lighting, so let’s do this! This post is long, so I recommend bookmarking it and coming back again in the future. If you just want to know the absolute basics of film lighting, then check out this blog post instead. The post you’re about to read is stupidly comprehensive. You’ve been warned.
So let’s get started making better cinematic videos and films!
Table of Contents
Double Your Image Quality with Lighting
When you know how to use lights and film lighting techniques, you gain flexibility, control, and an entire cosmos of creativity opens up to you.
There is no downside to learning cinematic lighting.
In life, it’s hard to find a sure bet. Here’s one for you: the best way to double or even triple your image quality is to get good at cinematic lighting techniques. You don’t even have to master film lighting to see a substantial increase in the quality of your footage.
The best way to double your image quality is to get good at cinematic lighting techniques.
Written with the solo filmmaker or short filmmaker in mind, this post will walk you through the basics you need to know about cinematic lighting.
While it’s impossible to cover everything, we can go over the essentials. If you have any questions, please send me an email.

My Film Lighting Story
I bought my first studio light in 2015.
For the first two years of experimenting with filmmaking, I used the sun and a 5-way reflector. I quickly realized that if I were shooting inside, I’d need to be near a window at all times if I didn’t want my footage to look like garbage.
This was limiting.
As I started to get more client work, I knew that I’d have to learn how to use lights. I couldn’t always put my subjects next to a window. If I was relying solely on natural lighting, I didn’t have full control over my shoot.
The first studio light I bought was a Photoflex softbox designed to take tungsten bulbs.
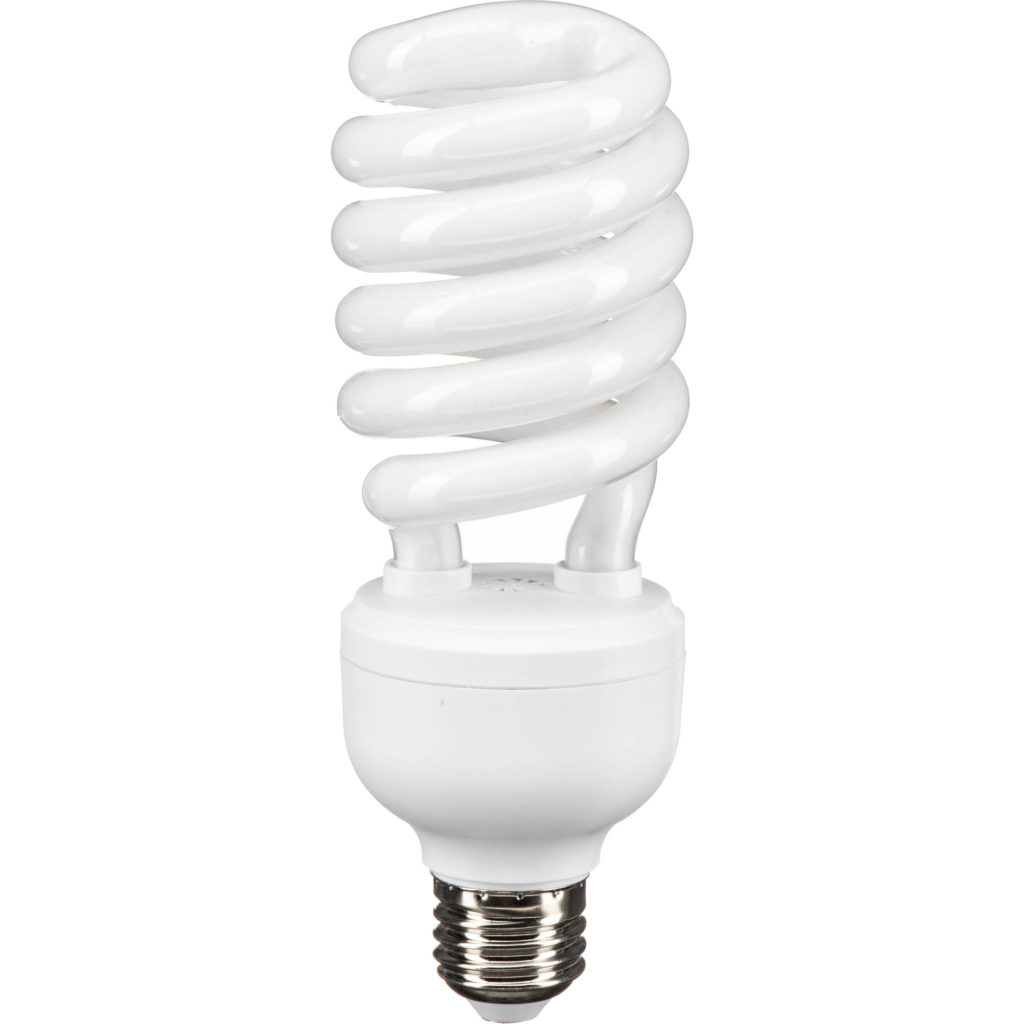
Then, I bought a ridiculous daylight-balanced fluorescent bulb that’s the size of a watermelon.
I wish I could tell you this was a fast process. But it wasn’t. In fact, it took me at least 100 hours to figure out what to buy.
Plus, learning what to buy didn’t help me figure out what to do with my one light once I got it. Owning something and knowing how to use it are not the same thing! Learning how to become a filmmaker is difficult, and becoming good a lighting is one of the hardest skills to learn.
To cobble together my lighting know-how, here’s what I did:
- I read books on cinematography and filmmaking
- Then, I practiced with my light
- On top of that, I rented lights, so I could try out using new tools (this was fun!)
- But most importantly, I became an observer of light — very important
My cinematic lighting journey is one that I’ll be on for life. You can never stop learning about lighting. It’s an endless terrain.
But, if you can master the basics of film lighting, you’ll be able to create work that you’re proud of, that tells a story, that punches way above its budget, and that draws in your audience.
If you can master the basics of film lighting, you’ll be able to create work that punches way above its budget, and that visually draws in your audience.
No Such Thing as a Natural-Light-Only Filmmaker
While as a photographer, you can be a “natural-light photographer,” as a video artist, cinematographer, or solo filmmaker, you can’t be a natural-light DP. That’s not a thing. At some point, if you want to progress, learning lighting is a step you’ll need (and want!) to take.
I hope that with this blog post, I’ll be able to shed some light (pun geekily intended) on how you can use lighting techniques to make your work better.
What is Cinematic Lighting?
The word cinematic gets thrown a lot these days in online video circles. Everybody wants their work to look cinematic—except maybe the guy filming his daughter’s piano recital with a Handycam.
However, other than Handycam guy, we all want our short films, brand videos and micro shorts to look like they just leaped off the big screen.
Cinematic lighting helps tell a story.
The difference between amateur lighting and cinematic lighting is story motivation. When you design your lighting to serve the story your film is telling, you’re officially doing cinematic lighting. While storytelling is the core of lighting, there is a wide range of techniques and tools that can be used to serve the story and create an infinite number of lighting looks.
If you don’t have a strong understanding of film lighting basics, then creating strong imagery will be impossible.
Why Is Lighting Important?
Lighting isn’t just important.
It’s all there is. Without lighting, you don’t have a film. Whether you’re using a cell phone or a $50,000 cinema camera, the premise is the same.
The quantity and quality of the light are what create your image. For instance, your image is created when light enters the lens and hits the sensor, which then turns that information into data. That data is later interpreted by your camera’s software and turned into your imagery.
Technology aside, lighting is what creates the mood of your image, creates the time of day and sense of place, and allows a one-dimensional plane to have the illusion of two-dimensionality.
Without cinematic lighting, your images will be flat and boring to view. Or they will not tell a story.
Bad lighting will still look bad on an Arri Alexa. You’ll just have nicer skin tones and better resolution than if that same bad lighting were shot with your cell phone.
What does Cinematic Lighting Do!?!
Above all, cinematic lighting does the following:
- Creates a feeling in the audience
- Creates a visual mood
- It makes a one-dimensional plane appear two dimensional
- Adds texture and visual interest
- Captures attention (the human eye is drawn to light more than colour)
- Creates a sense of time and place
- Focuses attention on what’s important in the frame
- It helps tell the story
- Emphasizes or draws out the on-screen characters’ traits (soft vs hard, good vs evil, beautiful vs ugly, etc.)
- Heightens reality – making things look better or worse than they do in real life
Lighting Design: Who Does It & Why It Has to Be Planned
Who is in charge of your lighting design depends on your context.
If you’re directing a short film or narrative film, your DP or Cinematographer should design the lighting. In addition, your DP would either place the lighting rental order or provide a list of what they need.
(That said, I’ve helped produce two micro-budget short films where the DP didn’t come up with a lighting design at all. This freaked me out so much that I did the lighting designs myself. FYI: you know things have gone sideways when a producer is designing the lighting!)
If you’re working in television in some countries, you may have a lighting designer. That means the DP only needs to worry about the picture but not the lighting. Pretty awesome if you ask me!
If you’re a solo filmmaker like me, then you’ll be designing the lighting yourself. If that’s you…keep reading. 🙂
Video Break: Roger Deakin on Lighting
Designing the Light
But why do I keep saying “designing” the lighting?
Can’t you simply show up on set or in the field with some lights and figure it out on the fly? Yes, and no.
In some cases, you have to design the lighting on the fly. You cannot access a location in advance or see any pictures, so you have to make it work at the moment. In which case, knowing the principles of lighting will be essential.
In most cases, you go to your location in advance to do preliminary photography.
From there, you assess the available light on location and begin designing your shots and your lighting. You decide in advance how much light you’ll need, what kind of light, and what tools you’ll need to achieve a look that will help tell your story.
If you’re in the world of corporate videography, then you’re often not so worried about telling a story.
Instead, you’re just trying to achieve lighting that doesn’t look like crap despite the fact that you’re shooting in a corporate office with nasty overhead fluorescent light banks. (Although, sometimes those overhead lights are high quality and look great—lucky you if that happens!)
The Most Important Lighting Concept: Key and Fill Ratio
If you’re new to lighting, then there is one main lighting concept you need to learn today: key and fill.
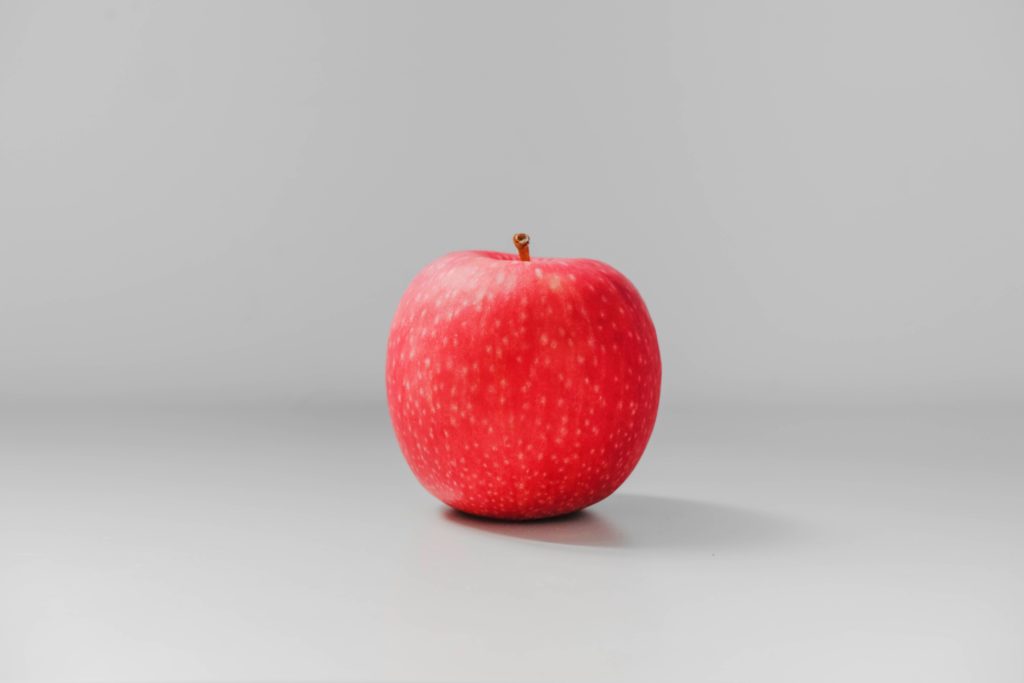
If I asked you to draw an apple and make it look two-dimensional, what would you do? First, you’d probably outline an apple; then, you’d start shading it. You’d make one side of the apple look darker than the other side. Voila!
Shading helps you simulate a two-dimensional world.
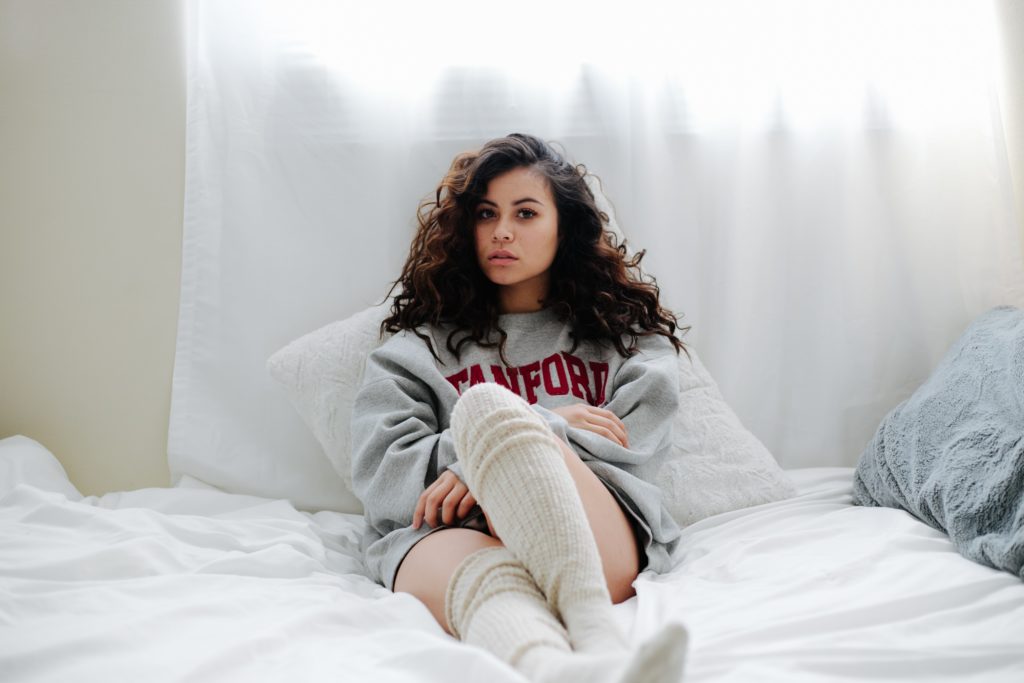
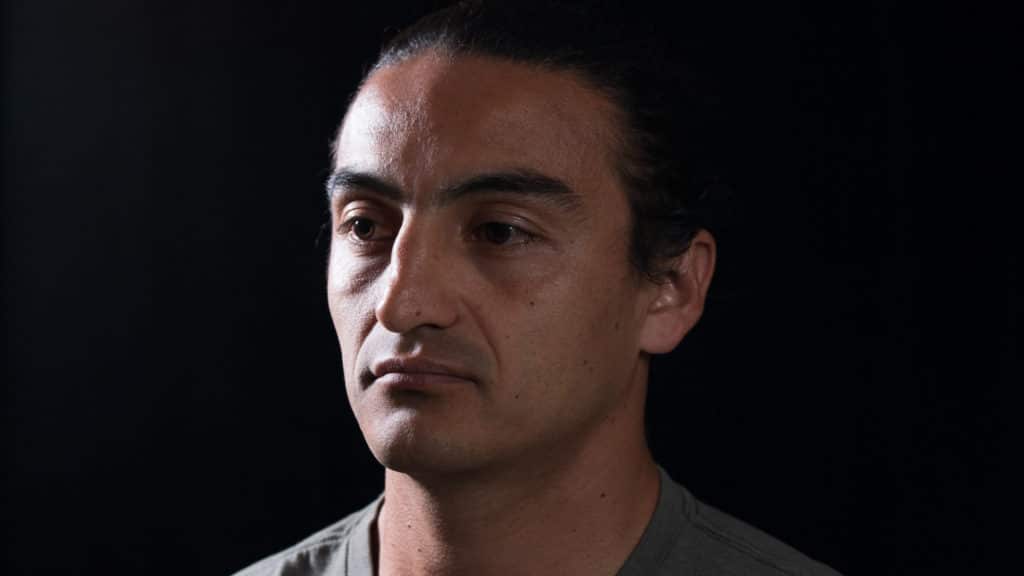
This is exactly what we’re doing with our KEY and FILL light. The Key light is the main light that provides most of the illumination on the subject. It hits one side of the subject’s face either from an upstage (behind the subject) or downstage (in front of the subject) position.
If you’re using tungsten bulbs, your key light for a single subject might be 1000 watts.
If you’re illuminating the right side of your subject’s face with the KEY, then you’ll come in with your FILL light on the left side of their face to reduce the shadows.
It’s called a Fill Light because you’re filling in the shadows created by the Key Light. If you’re creating a soft look, then you might have a fill light that’s 500 watts, which is half the intensity of your Key Light.
If you want to create a more dramatic look, then you’ll increase the contrast between the fill and key sides of the subject’s face. You might have a 1000 watt key light and a 250-watt fill light.


Contrast Ratios
Lighting Ratios, which are formally referred to as Contrast Ratios, seem to be something that confuses many people.
Yet this key element is written about only briefly in most lighting and cinematography textbooks. If you’re a solo filmmaker, you won’t likely be worried about doing exact measurements and calculating your contrast ratios.
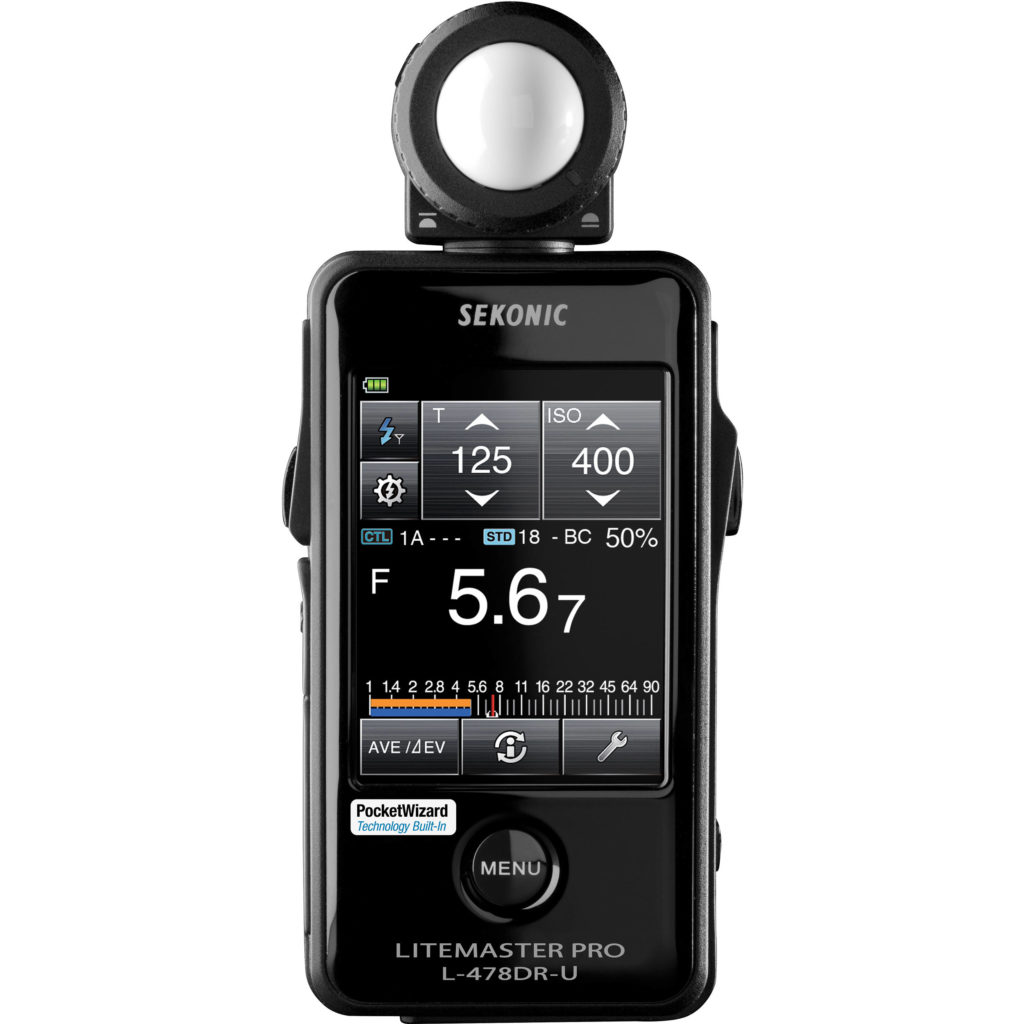
But if you’re a DP, then you’re going to be using a light meter, and you’ll know in advance roughly what contrast ratio you’re after.
High Key
High Key refers to a high key-to-fill ratio such as 1:1 or 1.5:1 or even 2:1. What the heck does that mean? It means that the main light (key) and the secondary light (fill) are either the same or close to the same intensity resulting in an evenly lit image. It’s similar to what you find if you go outside at high noon on a sunny day.
According to the Set Lighting Technician’s Handbook, high key refers to “a bright lighting style with low contrast and bright highlights.”
Cinematographer Blain Brown calls high key, “Lighting that is bright and fairly shadowless with lots of fill light.”
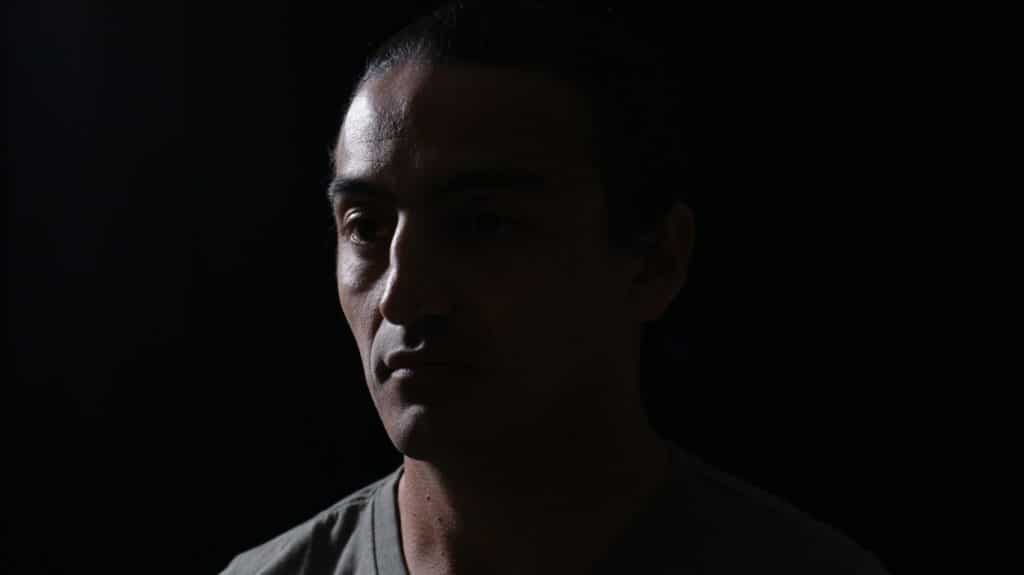
Low Key
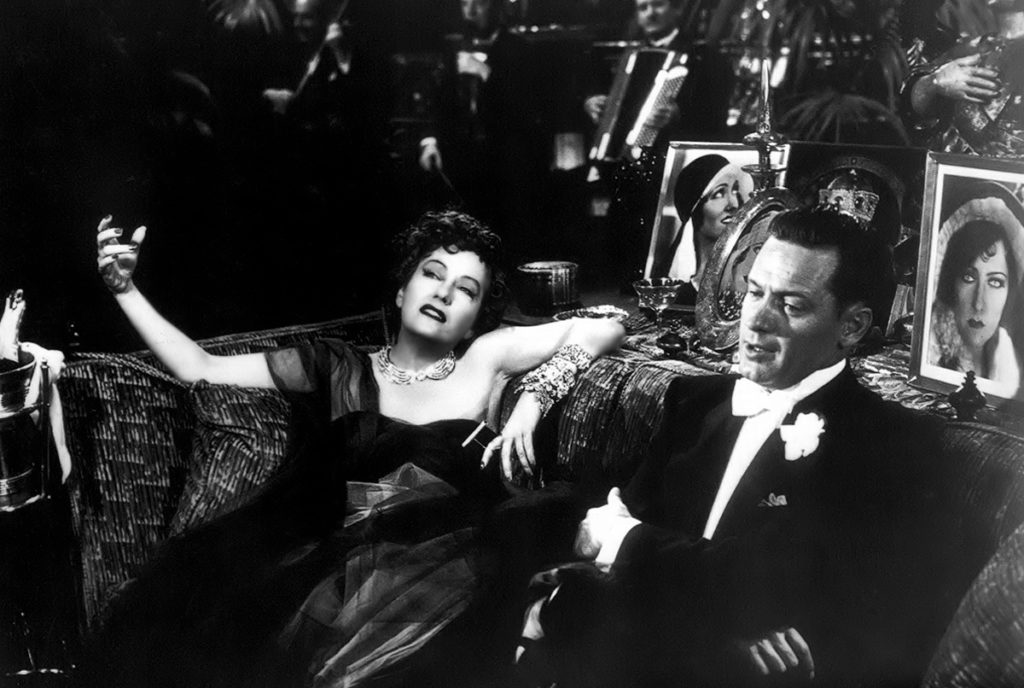
Low key lighting is the opposite of high-key lighting. The main light will be much more intense than the fill light, thus causing dramatic shadows. Do you see how intense the shading on the face of the male character is in the Sunset Boulevard image?
Contrast ratios are typically measured based on the light hitting on the subject not based on the light bulbs themselves. To get your contrast ratios, you’ll use your light meter to measure the foot candles or lux of the incident light. (Incident light means the light that hits the subject.)
If your key + fill reads at 120 fc (foot-candles) and your key alone reads at 60 fc, then your contrast ratio is 2:1.
However, on set most DPs and Gaffers (lighting technician) discuss contrast ratios in terms of f-stops. They’re more interested in how many stops there are between the key and fill side of the subject and other areas of the image. If you’re a little wobbly when it comes to manual exposure, then review this blog post here.
Calculating Contrast Ratios
Again, here’s your to-do list for calculating your contrast ratio:
- Read the incident light of the key side of the face with the fill light turned on as well. Use an incident light meter to get a foot-candle reading.
- Read the incident light of the fill side of the face.
- Divide the Key/Fill number by the Fill number to get your contrast ratio.
This is the formula:
KEY + FILL : FILL ALONE
This is how it breaks down in the above example:
KEY + FILL = 120 fc
FILL = 60 fc
120:60
2:1
But honestly, I cannot imagine actually doing these calculations in the middle of a shoot.
Maybe pro cinematographers do this, but run-and-gun filmmakers or video professionals working quickly do not. (FYI, I’m a solo filmmaker not a cinematographer i.e. I shoot, edit, and light but not for huge feature films.)
If you’re a solo filmmaker, you’re thinking about your contrast ratios as they relate to the image you’re trying to create and your f-stop settings, not some arbitrary ratio.
How do contrast ratios relate to f-stops?
A 2:1 ratio has a one stop difference. This is soft, low contrast lighting.
A 4:1 ratio has a two stop difference. This has greater contrast and more drama.
A 9:1 ratio has a three stop difference. Your fill side would be in near-darkness.
Simple Lighting Setups
Focusing on contrast ratios is one of the more technically complex topics in lighting.
If you’re a solo filmmaker or a solo DP with no gaffer or camera assistant, you might not be too concerned about getting a perfect 4:1 contrast ratio for your perfect close-up. Instead, you’ll be more concerned with just creating an image that looks decent and is motivated by the story.
If you’re a lighting and filmmaking crew of one, then you’ll want to rely on simple lighting setups like the two main options below.


You can light an infinite number of scenes and subjects with just one studio light. There are also a seemingly endless number of lights available to us, so sometimes choosing which ONE light to use can be the most complex part.
Cinematic Lighting with Just One Light Source
No matter what, you’ll need a main source of light.
If you have one studio light and nothing else, you can create either a soft or hard look. I’m going to detail the options for soft lighting because it’s more commonly used for everyday shooting. Most of us aren’t carving up our subject’s faces with film-noir looks.
The main challenge with hard lighting is shaping and positioning the light to get the shadows just right. When creating soft lighting looks, the challenge is to soften the light sufficiently while still having some depth and texture in your image and not turning your subject’s face into mush.
Soft Cinematic Lighting Options with One Light
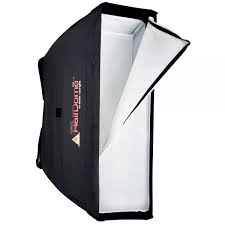
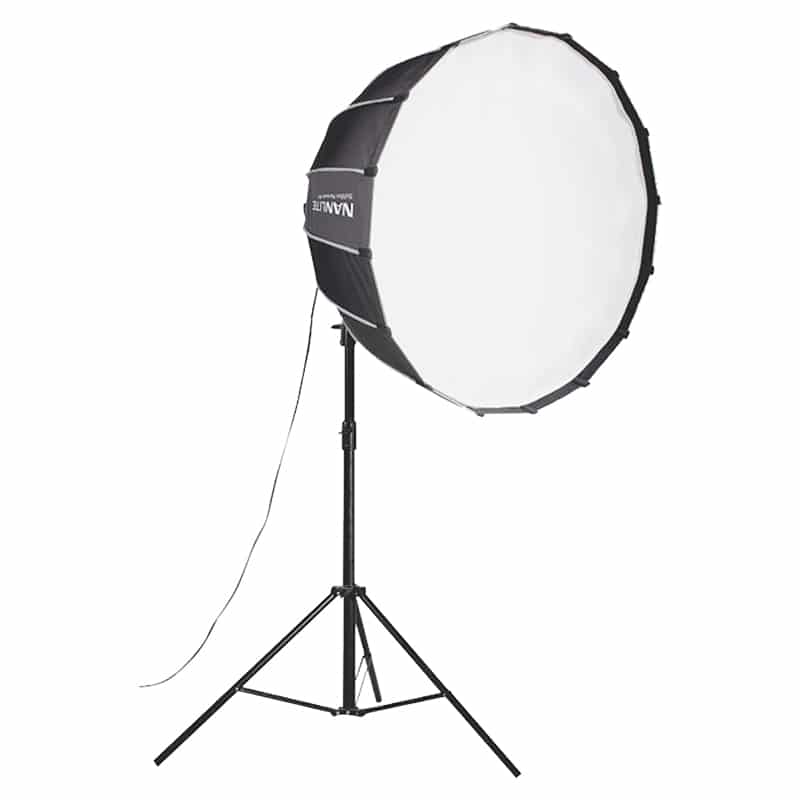
1) Use a softbox and get the light close to the subject.
The closer the softbox the fewer stark shadows you’ll have. The light can be positioned to wrap around the side of the subject’s face.
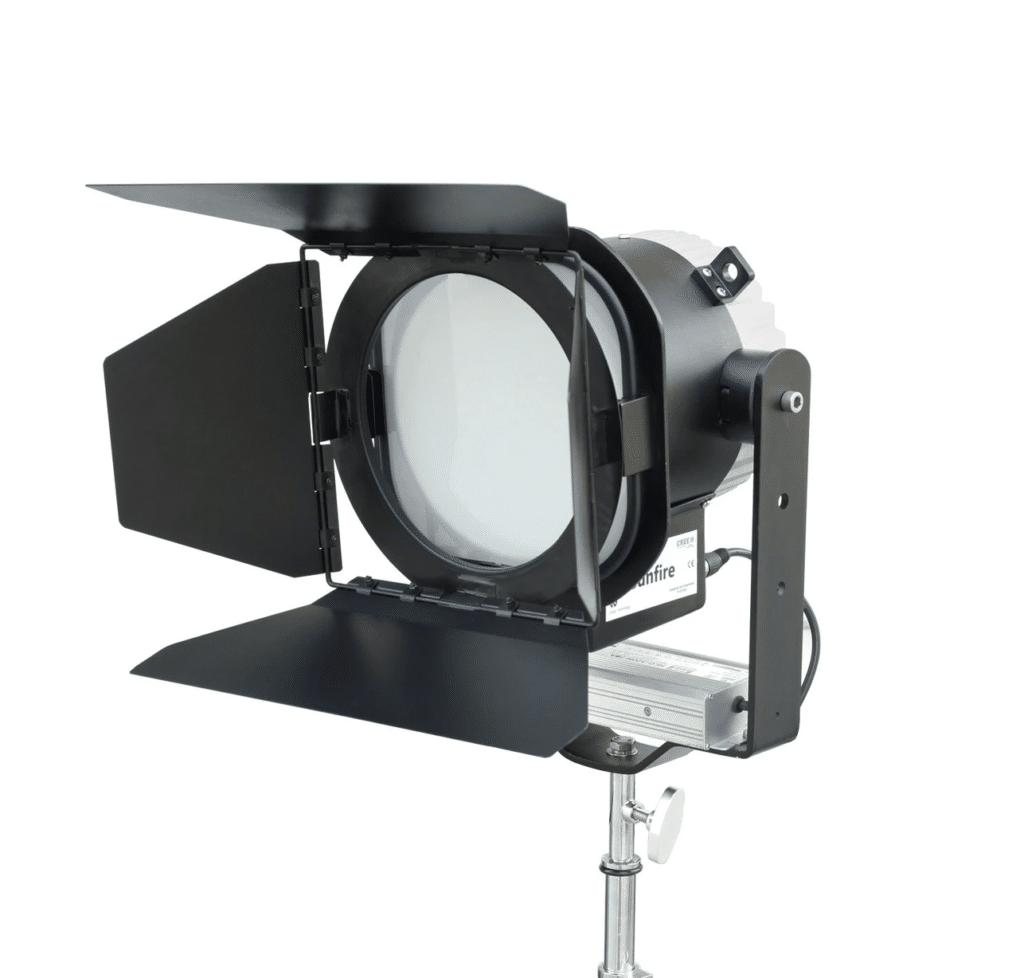
2) Use a hard open face light or PAR light and bounce it.
You can bounce a hard light off a white ceiling or white wall that’s in front or to the side of the subject and like magic you have soft ambient light that lights your subject evenly.
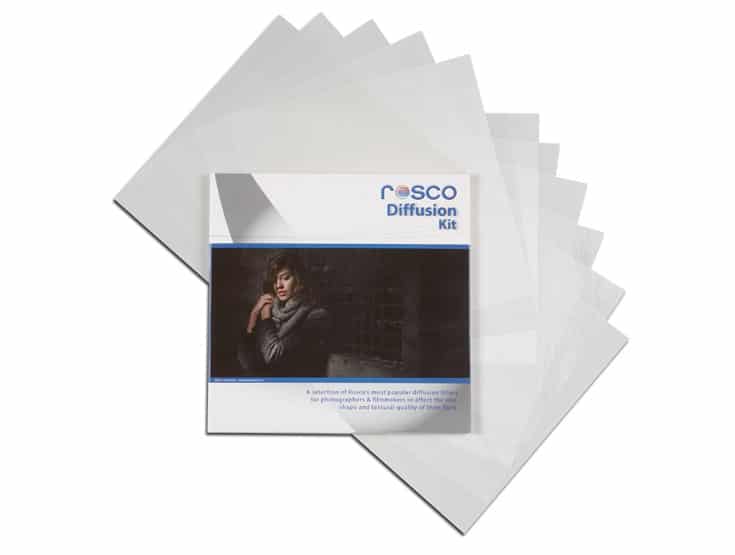
3) Use a hard open face light or PAR light and diffuse it.
Pull it away from the subject but hang a large scrim or any kind of diffusion close to the subject. This creates a large light source.
When you shine a hard light through diffusion you get soft light. The closer that diffusion is to the subject the softer the light. The larger the diffusion, the larger the light source becomes. The larger the light source, the softer the lighting.
All 5-way reflectors have a diffusion element that can be used in this manner. Just make sure your diffusion can handle the heat if you’re using hot lights i.e. tungsten lights. If you’re going totally DIY, then strong work lights can be shone through a shower curtain or sheet which you’d hang from the ceiling.
Not a good option if you’re doing a client shoot! But fine if you’re shooting a short film at home.
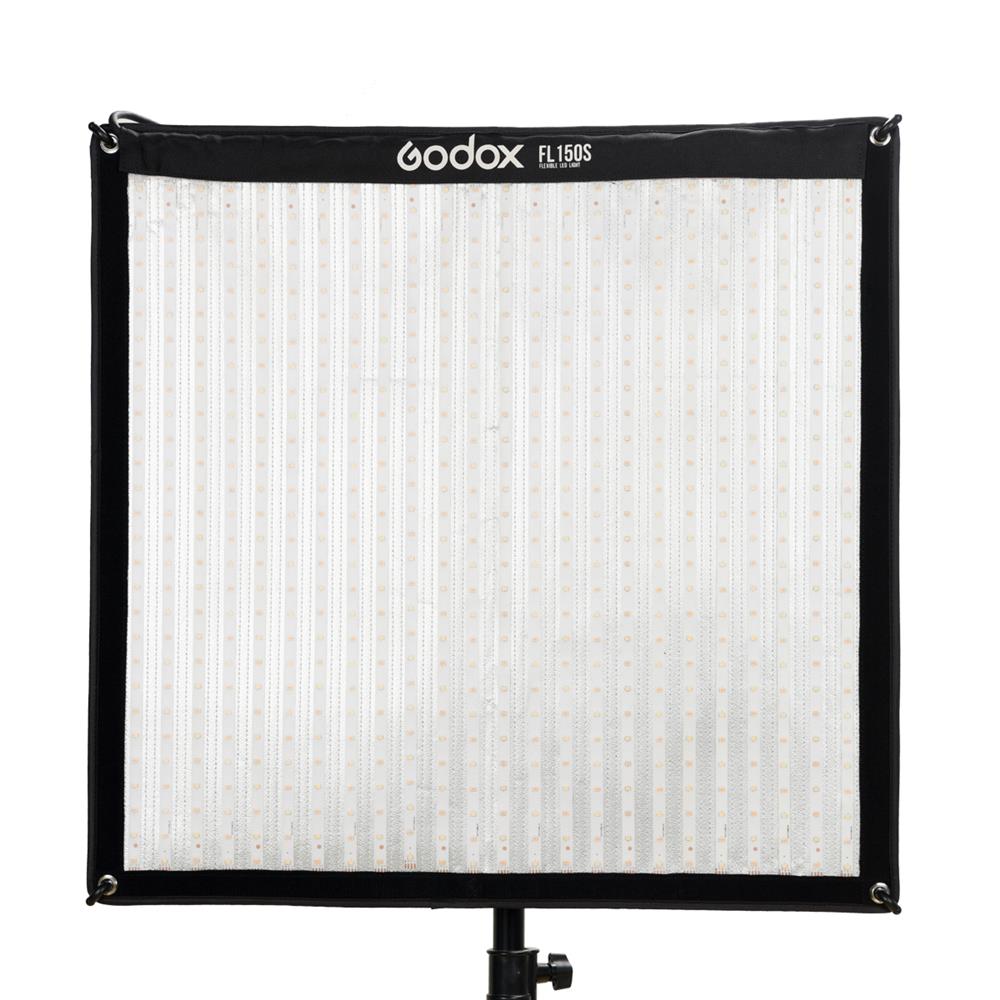
4) Use an LED panel that is already reasonably diffuse and bring it close to the subject.
Many LED lights have built-in diffusion.
They aren’t hard focused lights that are going to create aggressive shadows. The closer you bring these light panels to your subject, the less severe the shadows will be. The bigger the panel the better if you’re trying to create soft light and have no sunlight for fill. You may also be able to add more diffusion to your light panel to break up the light further.
5) Do Butterfly Lighting.
No one-light option would be complete without a mention of butterfly lighting. In this case, you take your light, place it straight in front of the subject. Hang it high and tilt it down so it creates a mini butterfly under the subject’s nose. This front light also creates glowing skin that is good for beauty looks.
6) Use soft window light that’s already diffuse.
If you’re shooting quickly, then a north-facing window can create wonderful soft light. Just watch out for aggressive light shifts as this will make shot matching in the edit suite a pain. For that reason, I don’t recommend south-facing windows unless it’s an overcast day.
7) Go outside and shoot under a tree or awning or in a doorway.
This light has naturally been diffused by the structure under which you’re shooting. Remember that as soon as you go outside, you start to deal with shifting light even more than before. Shooting a long scene or interview outside can make your colour grade a pain.
Cinematic Lighting with 2 Lights
One Key and One Fill
Basic lighting usually involves one key light and one fill light. This doesn’t necessarily mean you need any studio lights. Your key and fill could be windows. You could also have a window and a reflector disk. Let’s look at a couple of options.
1) Window Key and Window Fill
Using two windows for your key and fill can create beautiful soft looks. You can use blinds on the windows to adjust the contrast ratio. Just make sure you shoot fast because natural light will shift!
2) Window Key and Daylight-Balanced Fill
Have the window behind and to the side of the subject so that the key light wraps around their face from behind. Then have a soft daylight-balanced LED as your key light on the opposite side of the subject (downstage). In this case, you angle your subject so that the shadow side of their face is closest to the camera. This creates a more sculpted look.
Alternatively, you could do a more standard set up and have the window to the front and side of the subject (downstage) and place the key light at a 45-degree angle from the camera on the opposite side from the window.
3) Window Key and Reflector Fill
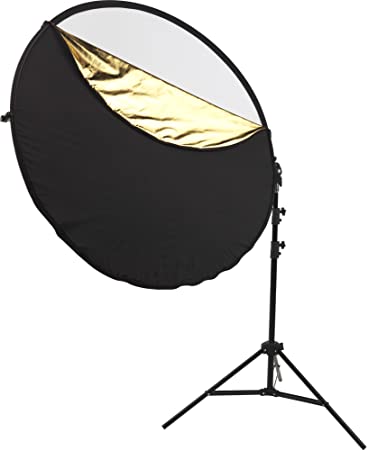
You might be surprised by how much light a reflector can bounce back at your subject. If you’re using a nice big window as your key light, you can bounce some of that light back into the shadow side of the face. Just make sure you’re actually reflecting the light in the right place.
4) Studio Key and Reflector Fill
If you use a studio light as your key, you can bounce some of that same light with a reflector and get some nice soft fill light. Place a softbox behind and to the side of your subject and angle your subject so the shadow side of the face is downstage (closest to the camera). Then place your reflector directly across from the key light to bounce that light into your subject’s face. If you use a white reflector you’ll get soft fill.
You can also do the alternative. If you don’t have room for the softbox or soft light behind the subject, then you can place it to the front and side and place your reflector on the opposite side, either upstage or downstage.
Sometimes all you need to do is use your reflector to bounce light into the eye sockets so they don’t look heavy and ghoulish. In this case, place your reflector at floor level and bounce light up into the face to brighten up the eye sockets.
5) Two Studio Lights
With just two studio lights you can either light a single subject or do a cross key set up and light two subjects.
For now, let’s focus on lighting one subject.
The trick of course is picking studio lights that will work. Make sure you can dial in the intensity of the lights with a dimmer switch. If that’s not possible, you’ll have less control over your contrast ratio. But sometimes that’s what you have to deal with so don’t sweat it.
When lighting one subject with a key and a fill light, you can either have an upstage key light or a downstage key light.
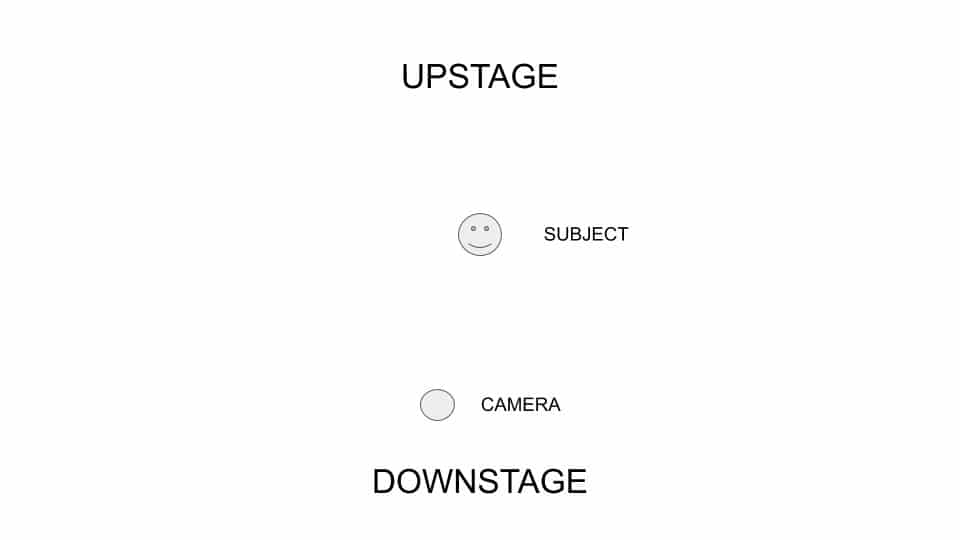
This decision will often be made for you due to the size of the room or the motivation of the lighting. While some cinematographers are OCD about always placing the key upstage, it’s a detail that you don’t always have control over as a solo filmmaker. If you’re shooting a short film or a feature, you have more time and can fuss with lighting placement more.
Additionally, you should be choosing your lighting placement based on logic, mood, and story not just because you think upstage lighting is more interesting.
In many cases a downstage key is preferable as it creates a natural look that works for a lot of interviews.
Downstage Key
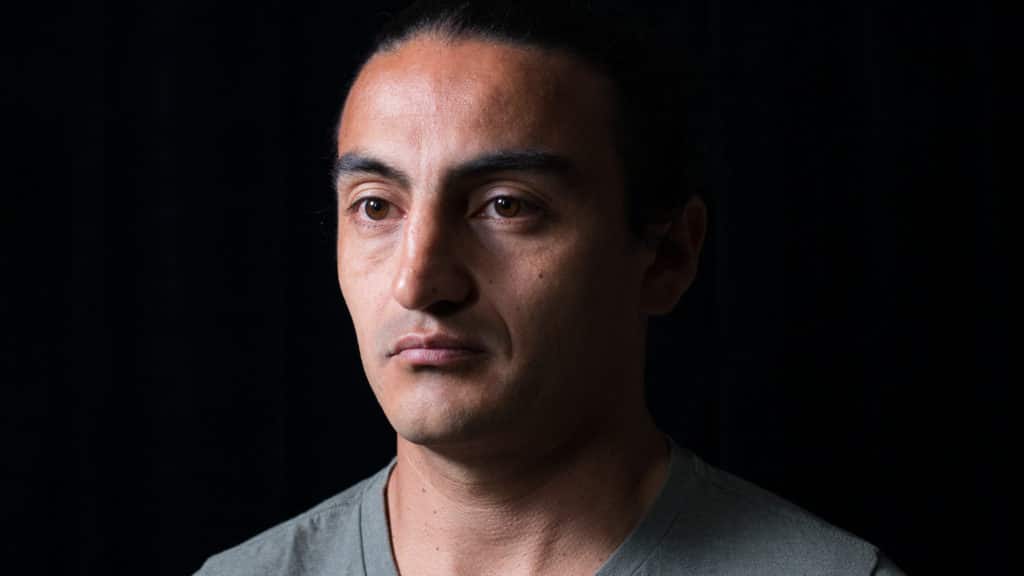
Upstage Key
Video Break: Good Demo of Reverse Key Lighting
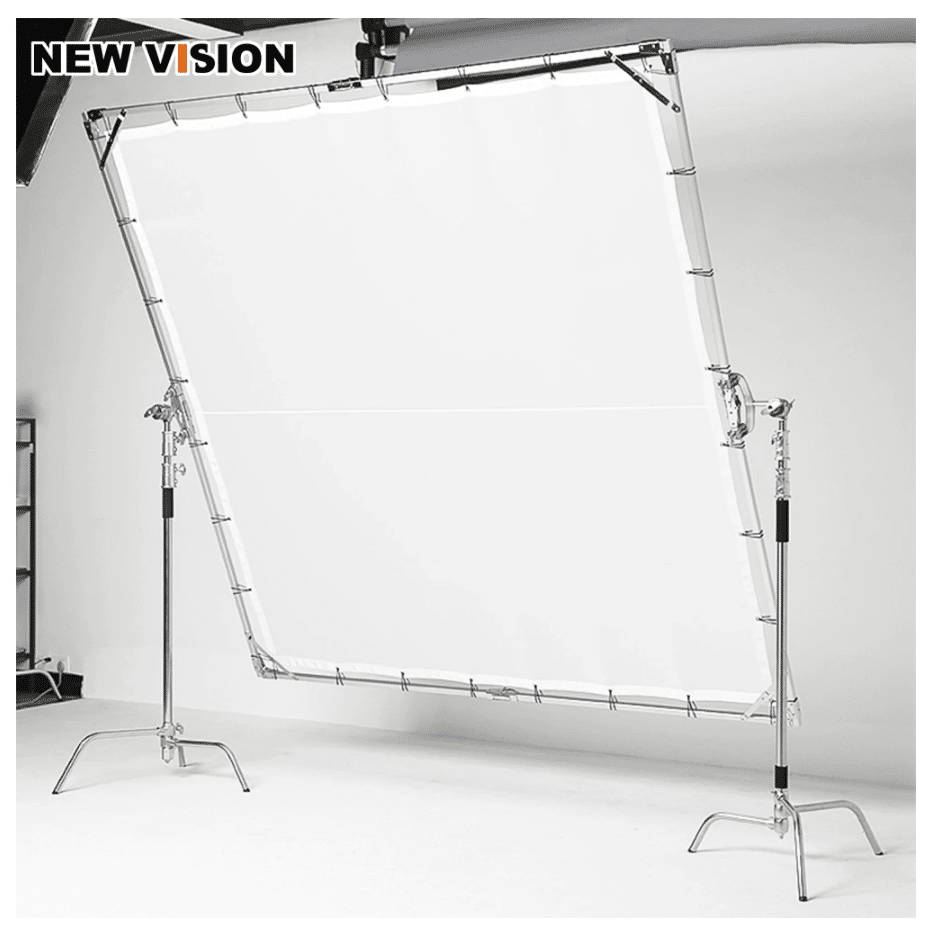
Renting or Buying Studio Lights
If you’re renting lights, then you’ll want to know in advance if you’re trying to create a high contrast or soft look. For a high-contrast look make sure your key (main light) can be set to at least 4x the intensity of the fill light (secondary light).
If you’re not mixing your studio lights with daylight, then you can use tungsten lights which are beautiful and cheap. They are also super hot, so your subject might not thank you.
Two dimmable LED lights are also perfect for a two-light set up. Just know that an LED panel is never going to give you as soft a look as any bulb that’s inside a softbox.
The softness of your light depends on the size of the source.
LED panels are usually no more than 1.5 feet in length. A large softbox provides triple or quadruple the surface areas of a typical LED panel. You can see why the softbox would create a more flattering light than an LED panel.
One nice option if you have money to spend on rentals is the Kinoflo Diva Lights. These fluorescent or LED light banks create ridiculously beautiful soft light. They are a large soft light source that is dimmable and controllable.
Another option that many people seem to be impressed with today is the line of Aputure lights. You can use the Nanlite with softboxes to create soft looks or barn doors to create hard lighting.
I recently started using the NanLite, a directional LED light that you can add a lens and barn doors to, as well as a softbox and grid. But I haven’t had it long enough to give you a full report. More on that soon!
Please note that the larger your light source, the more awkward it is to use, especially in small spaces. For solo filmmakers, using a gigantic light source is often not an option.
Cinematic Lighting Techniques and Concepts Every Filmmaker Must Know
Soft Film Lighting
Soft light is any light source where the rays are not running parallel. The rays of light have been broken up and are multi-directional. This creates a look that has soft shadows. A totally overcast day is an example of soft lighting. The sky becomes a huge light source that softly lights your subjects on earth. Tools such as diffusion, scrims, and softboxes are used to break up hard light sources and create soft lighting. Soft light is harder to control. If you want to fine-tune a soft look, you may need to use flags (black fabric) to block some light.
Hard Film Lighting
Hard light is any light source where the rays run parallel. (Of course, no light will run completely parallel. There will always be some break up of the light.) Hard light sources often have a lens that focuses the light. The smaller the light the harder the light will be. Hard light fixtures often have barn doors on them, so you can shape the light.
Key Light
The key light is your main light source for your subject and scene. It can be anywhere in relation to the subject, but it should make sense based on the context and the story.
Fill Light
The fill light allows you to reduce the shadows created by the key light. Your fill light is usually much less intense than your key light. This allows you to keep contrast in your image and build the illusion of three-dimensionality.
Negative Fill
If you want to darken the shadows of an image, you can place a flag (black fabric or a black bounce board) on the shadow side of the subject. This negative fill will further intensify the shadows because it is absorbing the light rather than reflecting it. This can be useful if you can’t remove light and you want a more dramatic look.
Motivated Lighting
While I’m usually more concerned about the story motivation of everything, in this case, we’re talking about contextual motivation. When you look at a space, where are the windows and practical lights (lamps, candles, computer screens, any light in the shot)? You can motivate your lighting, by placing your lights to enhance what is already a part of your shot. This prevents your lighting from looking fake. This is important if you’re creating a lighting look for a short narrative film.
However, if you’re shooting a corporate talking-head video, it matters more that your subject is evenly lit and visible in the frame. You’re not too worried about motivation.
When it comes to narrative work, the reason so many short films look a bit chintzy is because the lighting isn’t motivated. Fake-looking lighting is something we associate with low-quality.
However, stylized lighting is a different story. Pay attention to the lighting in Quentin Tarantino’s later films and you’ll see plenty of stylized lighting. He wasn’t trying to create realistic looks. Instead, he was using a theatrical approach to create lighting that was motivated by the STORY.
Natural Film Lighting
Did you hear that the Revenant was shot completely using natural light? What does that even mean? It means that not a single studio light was employed in the creation of that film. If you rely on sunlight, candles, firelight, and a ton of reflectors and flags, then you’re doing natural film lighting.
Bounce Lighting
Bouncing light on a bright white surface can create beautiful soft lighting that evenly wraps around your subject. It can be a good way to create an overall fill light for your scene. You can bounce light off a reflector, off a wall or ceiling, or even off the floor.
Sometimes your bounced light is unwanted and may create a colour cast. If your subject is sitting in FRONT of a yellow wall, there may be a yellow cast to their face as light will naturally bounce off that wall and onto the subject.
Practical Lighting
A practical light is any light that has a practical purpose and is part of the set. Practical lights include desk lamps, floor lamps, an oven light, computer light, candles, wall sconces, alarm clock, cell phone, and a flashlight. These lights add texture to your shot, but they can also motivate further studio lighting that is placed outside the shot.
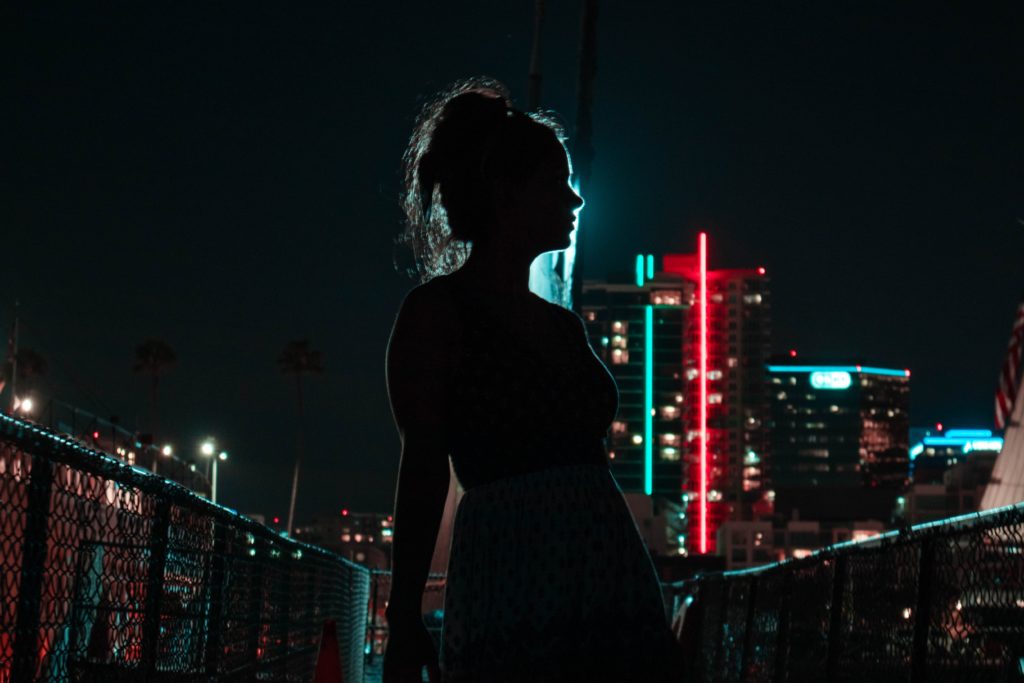
Backlighting
This is light that is placed behind the subject. It can be hung directly behind the subject if you have a grid to work with. If, like most filmmakers, you’re working with stands, your backlight will be back and to the side (3/4 back). You direct your backlight to the back of your subject’s head and shoulders. Why? This creates separation between your subject and the background so they don’t just bleed into the background.
One of the main points of lighting is to draw or direct the viewer’s eye. When you use a backlight, you’re pushing the viewer to look at the focus of that backlight. Backlights can create beautiful rims of light that are delicate and ethereal, they can create glowing halos, or they can be more subtle and simply pop the subject out from the background.
Side lighting
Kinda like how it sounds…it’s lighting from the side. Side lighting is much more dramatic as it splits the shadows right down the centre of the character’s face. It also typically brings out the texture of the face being lit.
Kicker
A kicker is a small light that’s used to kick light onto a subject’s cheekbone. This is an added lighting element that can create further drama and texture while drawing focus to the subject. It may be a useful way to differentiate between the main character and one that is less important. You may add a kicker to your hero but have just key and fill on the secondary character.
Ambient Lighting
Simply put, the lighting that’s already there before you start messing around with your lighting kit! Nuff said.
High-Key Lighting
This is lighting you often see in beautify commercials. The light is bright, and there’s very little contrast. A contrast ratio of 1:1 is high key. There is some confusion around high-key lighting wherein people think high-key has to have a white background that is overexposed and shadowless. In fact, high-key lighting is just imagery with minimal shading—not the total absence of shadows altogether. In other words, this is a low-contrast lighting look.
Low-Key Lighting
Quite the opposite of high-key, this is a high contrast look. With low-key lighting, you may have a contrast ratio of 1:6 or more. There are tons of shadows and lots of drama. High-key and low-key are on the opposite ends of the lighting spectrum.
Reflectivity
It’s important to know that every object on planet earth has some degree of reflectivity. A person’s skin may reflect light a lot or just a little. The reflectivity of a surface isn’t just related to its colour. It’s also related to the texture. For example, a dark smooth surface like a car will be more reflective than a dark textured surface like a blanket.
Similarly, an oily white surface (like a forehead) will be more reflective than a matte white surface like a piece of paper. This issue of reflectivity is important to note because two subjects within a shot may have different degrees of reflectivity and require more or less light than the other. Also, highlights on a person’s body caused by the oil in their skin can cause overexposure if not attended to.
Finally, understanding reflectivity allows you to use the surfaces around a subject to add light to your shot. If you film a subject in front of a white wall that’s being hit with sunlight, you can bounce that light from the wall onto the subject. A good lighting practice activity is to start paying attention to how the light around you is being reflected. This attention will pay off in the future when you need to light a shot using just reflected light.
Basic 3-Point Lighting
3-point lighting gets taught to every filmmaking student in the world.
However, the way it gets taught may differ. The origins of 3-point lighting are actually in the theatre. To see actors on a stage from every seat in the house, lighting needed to illuminate the actors from three points: the left front, the right front, and behind. These lights were hung from above at roughly a 45-degree angle to the actors.
In filmmaking, three-point lighting simply refers to having a key light, a fill light, and a backlight.
Your key is the main light, which could be placed almost anywhere but is frequently used to illuminate the upstage side of the face (the side that is NOT closest to the camera). The fill light is used to mitigate the shadows created by the key. Since the key is a relatively strong light, it creates shadows that may not be wanted. To reduce the contrast of the look, a fill light is brought in. The fill light will typically be placed to illuminate the shadow side of the face. Its intensity will often be half of that key light.
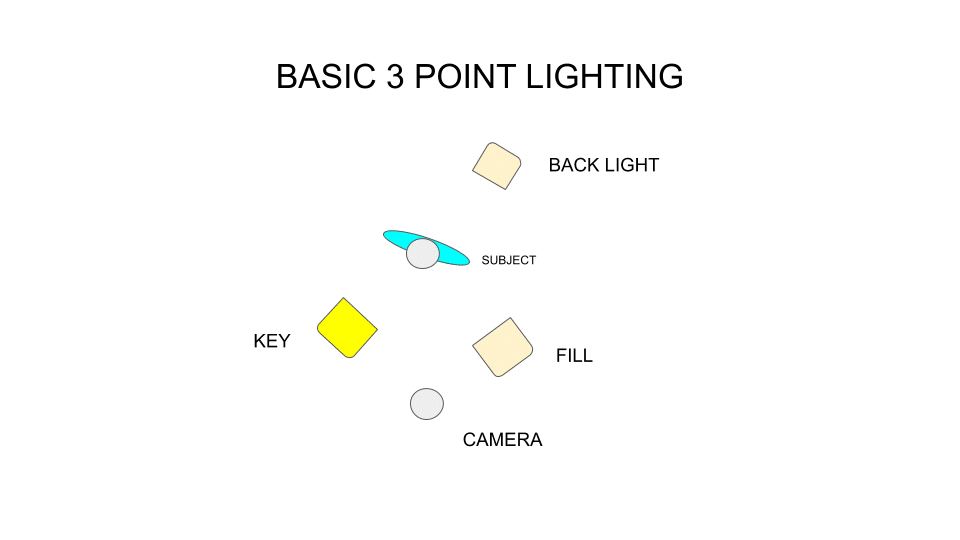
Finally, to separate the subject from the background so that they don’t just blend into the woodwork, a backlight is added.
This light may be anywhere, but it’s often placed to the back and side and used to illuminate the back of the head and the shoulders. This creates a glow of light on the hair and shoulders, which creates the illusion of three-dimensionality.
How to Light a Scene with DIY or Low-Cost Gear
I don’t recommend using DIY gear because the bulbs will suck.
If you’re shooting in black and white, it doesn’t matter if your bulbs have a low CRI rating, in which case DIY gear is fine. But if you’re shooting in colour, you don’t want the colours of your skin tones to be gross because you used bulbs with a CRI of 80.
CRI stands for Colour Rendition Index, and it gives you a good idea of how colour accurate your lighting is going to be. Tungsten bulbs are 100% colour accurate. So if you must light with household bulbs, close all the curtains to block out any natural light and use just 250-watt tungsten lamps. For any other bulbs, make sure the CRI rating is 95 or more.
A good way to light a scene if you have no cash to spare on lights is to use natural light and a bounce board to reflect that light.
A huge bounce board is about $20 and will reflect a lot of light.
But don’t forget that renting lights is cost-effective and often the best way to go. If you’re making a short film, include a budget for lighting rentals. Even the best camera is no substitute for a well-lit image. Remember lighting isn’t just about getting ENOUGH light; it’s also about creating depth, texture, emotion, and creating focus.
Cinematic Lighting is Possible for Every Video and Filmmaking Professional
Over the past ten years, cinematic lighting has become more accessible than ever before.
It used to be that film lights were insanely expensive, heavy, and difficult to use. While you can still find $10,000 lights being used on film sets, there are now much more affordable and easy-to-use options.
Now, you can get a PAR light that weighs less than 1 lb and can be easily taken with you on your next client shoot. There are options for solo filmmakers that don’t break the bank or require a crew to make it work.
As film lights have become more sophisticated and accessible, it’s to our advantage to learn as much about lighting techniques as we can.
While reading is no substitute for practicing in the field, this post is a great primer on what you need to know and practice if you want to improve your lighting.
So bookmark it and come back to it later! 🙂
Did you enjoy this article?
Learn more about filmmaking! Take the FREE video training series that’ll help you improve your video quality or just get started making films. You don’t need fancy gear to get started with filmmaking. But these 7 tips will help you big time. CLICK HERE to get the FREE Film and Video Training Series.

About the Author
Hi! I’m Colette Nichol. I’m a solo filmmaker and story strategist based out of rainy Vancouver, Canada. I’ve been making videos and micro films for small businesses and global brands since 2014.
Plus, I LOVE to help aspiring filmmakers pursue their dreams and start making films. This blog is designed to help you gain the knowledge you need to become a filmmaker.
If you want more, get on the waitlist for the Story Envelope Academy Solo Filmmaking Mentorship Program. It opens up one time per year and is the best way to become a filmmaking or video pro fast!
CLICK HERE to get on the solo filmmaking mentorship waitlist.
")