Article by Colette Nichol, Solo Filmmaker and Story Strategist
Estimated reading time: 4 minutes

Knowing Your Bulbs
The warm vintage glow of a Tiffany lamp.
The bright buzzing light of an office.
And then … the chameleon … long-lasting illumination – sometimes warm, sometimes cool, but always with a modern almost space-age feel.
The first example is of tungsten bulbs.
The next is fluorescents.
And the last one is LEDs.
These are the main types of lighting you’ll be dealing with as a micro-filmmaker.
Why do bulbs matter? Why do you need to know your bulbs and know how to deal with them?
Because mixed light is the number one thing that will ruin the colour of your video image. Unless you’re the one controlling the mixed light, it’s controlling your image – and usually not in a good way.
Mixed-light, when it falls on your subject’s face, results in very funky skin tones. For a get-in-get-out situation, it’s no big deal. But if you’re looking to make art, then make sure you pay attention.
Survival Knowledge for bulbs is a bit more complicated than the other topics.
You need to know:
1. Tungsten colour temp is usually 3200K +/-
2. LED lights typically have a colour temp of 5600K but you should still check because they could be “warm” LEDs.
3. Fluorescents are usually around 5000K but can vary.
Your three different types of light bulbs all have different colour temperatures. This means that under each of these lights your camera will perceive white differently.

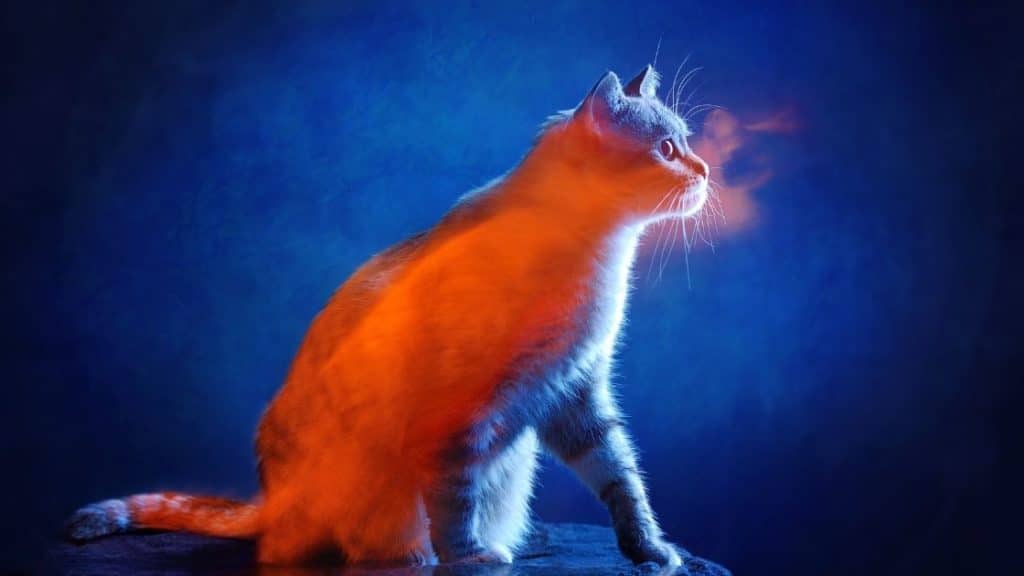
Mixing light is just like mixing paint.
You end up with a different colour image than if you’d just stuck with one single type of light.
Think of Tungsten bulbs as orange. LED as blue. And Fluorescents as Green.
Now imagine what happens when you mix those colours.
When you can match colour temperature closely, i.e. daytime natural light with a DayLight Balanced LED (5600K) then you won’t be creating new colours.
But when your lights have very different colour temperatures, your image can start to look muddy.
Basic Survival Knowledge for Mixed Lighting:
1. Identify all the different light sources.
2. Deduce what colour temperature they are (roughly – this doesn’t need to be perfect)
3. Turn off any lights that are going to mix in a way that isn’t visually appealing.
4. Check for mixed-light on your subject’s face. Move your subject as needed to avoid mixed light.
5. Switch out bulbs if you need to.
If you take a picture inside looking out with a tungsten lamp in the corner of the shot and the colour temperature set to 6500K, the outdoors will look like it’s the correct colour. But the lamp inside will be BRIGHT ORANGE. That’s because the image is white balanced for the outdoors.
Now if you do the opposite and shoot from indoors to outdoors with that same tungsten light in the corner but you set your colour temp to 2800K, the outdoors will look extremely blue.

You can see why visiting your location before filming a critical project is so important.
Example:
Imagine you’re filming a well-known psychologist at a university library. This library is gorgeous. The perfect location. But it’s full of tungsten lamps. That’s important information.
If you want the colour to be even across your image, then you’d want to bring in a tungsten light for the interview or an LED with a colour temp of 3200K.
Then you set your white balance in camera to 3200K. This will give your image an even look. No mixed light.
But if you don’t mind having dots of warm orange in your background, then you can light your subject with natural window light, a daylight-balanced LED, and leave the tungsten lamps in the background to work their magic.
It’s all artistic preference.
Falling in love with light is necessary if you want to make beautiful and well-crafted images.
Don’t worry about mastering it overnight. Just get interested in light. All light.
Every time you enter a new space, make it a habit to check out the lighting.
What colour temperature do you think the bulbs are?
How do they mix?
Where would you place a subject if you were doing an interview?
This solo practice will make lighting a lot easier when you’re actually working on a project. Plus it’s fun, easy, and free! 🙂
Learn Filmmaking and Get the Gear Guide
If you’re interested in learning filmmaking, check out the Solo Filmmaking Mentorship Program I created for aspiring filmmakers and video creators. It usually goes live once per year. So I recommend getting the Story Envelope Filmmaking letter which comes out a couple of times per month. That way, you can get filmmaking tips for free and find out when the filmmaking course is going live again.
Also, before you go, grab the Solo Filmmaking Gear Guide and Checklist for Beginners.

About the Author
Hi! I’m Colette Nichol. I’m a solo filmmaker and story strategist based out of rainy Vancouver, Canada. I’ve been making videos and micro films for small businesses and global brands since 2014.
Plus, I LOVE to help aspiring filmmakers pursue their dreams and start making films. This blog is designed to help you gain the knowledge you need to become a filmmaker.
If you want more, get on the waitlist for the Story Envelope Academy Solo Filmmaking Mentorship Program. It opens up one time per year and is the best way to become a filmmaking or video pro fast!
CLICK HERE to get on the solo filmmaking mentorship waitlist.