
Article and Video by Colette Nichol, Solo Filmmaker and Story Strategist
Estimated reading time: 11 minutes
To make your films and videos more cinematic, you need to use simple and low-cost filmmaking techniques. There are 14 key filmmaking techniques that’ll transform your footage. The most important filmmaking technique is to frame your moving images so that they tell a story. This is the basis of visual storytelling.
However, framing alone won’t create compelling imagery. You must ensure that you take advantage of every technique, hack, tip and trick to make your films and videos visually compelling and sound great.
Remember, filmmaking isn’t just a visual medium; it’s also important to consider your sound.
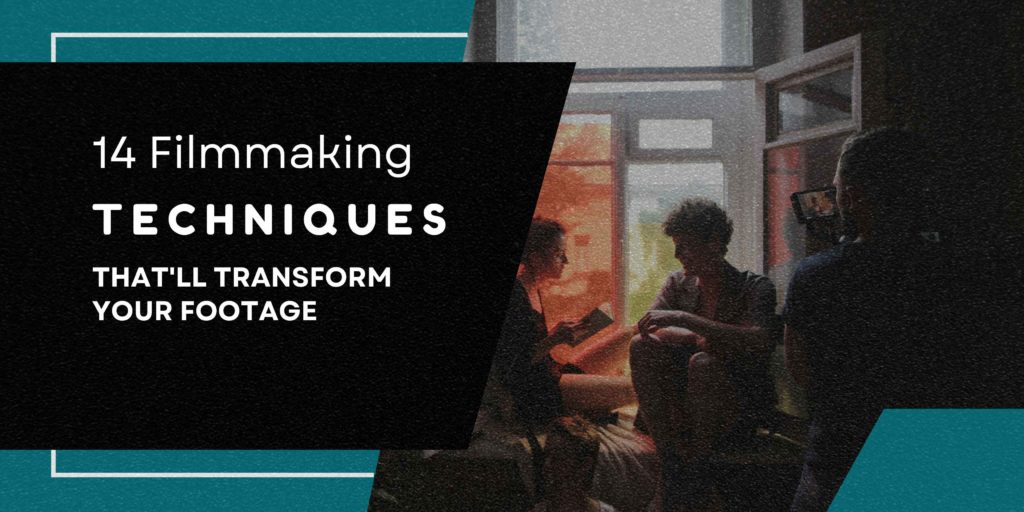
14 Filmmaking Techniques to Make Your Videos and Movies More Cinematic
1. Take advantage of golden hour and blue hour.
You probably already know about golden hour. That’s the time of day right after sunrise and right before sunset when everyone is bathed in golden light. It’s the perfect time of day to shoot a romantic or euphoric moment.
But have you considered how to take advantage of blue hour?
That’s the time of day right before sunrise and right after sunset when there’s still some light, but the world hasn’t gone black yet. During blue hour, the world is tinted a gorgeous saturated blue colour that evokes melancholy and mystery. There’s no better time of day to shoot a scene that needs to be dripping in moody blues.
2. If you need interior lighting, use china balls.
While china balls aren’t free, they are low-cost compared to most studio lighting options. You buy a large spherical paper lampshade for $10 and then a socket and cable for $15. Finally, you’ll need to decide what kind of bulb to use. You can use a 150-watt incandescent bulb to get beautiful light that softly wraps around your talent’s face and creates a warm glow. You can go all the way up to 500 watts in a 30 inch shade, but have a fire blanket on hand, ’cause these things do get hot! Good studio bulbs are usually around $6-10.
Next, hang this light off a rental C-stand or from a hook in the ceiling. Get it as close to your talent as possible to make the most of the light. Or, if needed, use a couple of these. Three china balls with 500 watt bulbs will light an entire small scene beautifully with super soft light for under $100. Lighting is one of the basics of filmmaking, so it’s important to take your time when lighting your shot.
3. Do a pre-shoot location scout and plan the living daylights out of your set design.
It costs nearly nothing to do a pre-shoot scout and plan your set and lighting in advance. Take pictures of the location and look at the sun’s path for the day, i.e. when the sun will be passing across the location. Then plan your shoot around the available light. And plan how you’re going to adjust the location to make it better fit your story. Bring any props or set design pieces needed to craft the ideal set.
4. Embrace symmetry.
Creating symmetrical images makes a location appear “expensive” or high-end. Symmetry has been used in design since ancient times. Most great palaces and places of religious significance use symmetry to create a sense of regal calm. You can do the same with your imagery.
5. Create triangles with your blocking and framing.
Start paying attention to how triangles are used in films. A triangle is created any time you put three people on screen and give them equal weight. You also get triangles when you place objects of equal importance in an image. The triangle is one of the strongest forms in architecture, and it’s also a powerful visual. It encourages the eye to move from one element to the next, keeping us engaged. It also creates a feeling of strength and power. Watch a few movies, and look for triangles in the staging and set.
6. Use archways and frames within a frame.
You can draw the eye inward by placing people within frames. Stage a dialogue scene within a doorway rather than at a kitchen table. You’ll create a more dynamic look and draw the eye into the scene. Of course, your staging needs to make sense. But always look at a location and see if there’s a frame within a frame.
7. Get obsessed with clean audio.
Spend about 20% of your production time being obsessive about how you’reyou will get clean audio for every setup you have. If you have terrible audio, you don’t have a movie. Get your microphone close to the subject, and make sure there won’t be any clothing noise or loud background noises. And always, always test your audio setup well in advance. Put it through the paces to make sure it’s clean.
8. Location, location, location.
Whatever you can do to get a great location for your shoot, do it. Your location is the visual backdrop for your story, and it cannot be overemphasized how important it is. If you can do a favour to get a better location for your shoot, do the favour! Look for locations with depth and good lighting that evoke your story’s mood and universe. Also, make sure your location is quiet.
9. Shoot into the corners to create depth.
When framing up your shots, the easiest way to achieve depth is to shoot into the corners of a room rather than the walls. The more depth you can get, the more spacious and textured your image will be.
10. Plan your transitions.
Go through your script and story, and see if there are any places where it would add to the story to have a well-planned transition. For example, maybe you fade out on a close-up of the main character’s face, and you fade into the same character’s face a few days later, but the scene has changed. You’d need to plan that transition to get the frame right.
11. Create a visually engaging shot list.
Don’t slouch when it comes to thinking through your shots. How can you tell the story visually rather than relying on shooting basic coverage? Think about how you want the shots to connect and what you need people to see. And decide if there are moments where camera movement is absolutely necessary to tell the story.
12. Have a colour palette.
First, decide the mood and feel of the piece. Then visualize it in your mind. What colours do you see? Are they faded or saturated? Is it high-contrast primary colours, or is this a world of browns and greys? Once you’ve got your colour palette, that will inform every single visual choice from wardrobe to location to props and set pieces.
13. Do a non-wishy-washy colour grade.
When you finally get to your colour grade, make bold choices that bring your story to life. Don’t be afraid to push the envelope as long as your choices inform your story. Maybe you don’t need to be hyper-realistic. Look at some of your favourite films and think about how different the colours are from real life. Then think about your project and how you want the world to look.
14. Get tons of natural sound to build a textured sonic environment.
It doesn’t cost you extra to record sounds on location. You’ll have an easier time with your sound design if you’ve already got the sounds of footsteps, the crunch of gravel or the sound of a train going by. Do whatever is in your power during the shoot to collect sounds that will help you tell your story. A powerful sonic landscape that helps tell the story will draw an audience into your film more than any fancy camerawork.
So, were any of these tips useful to you?
Hope so!
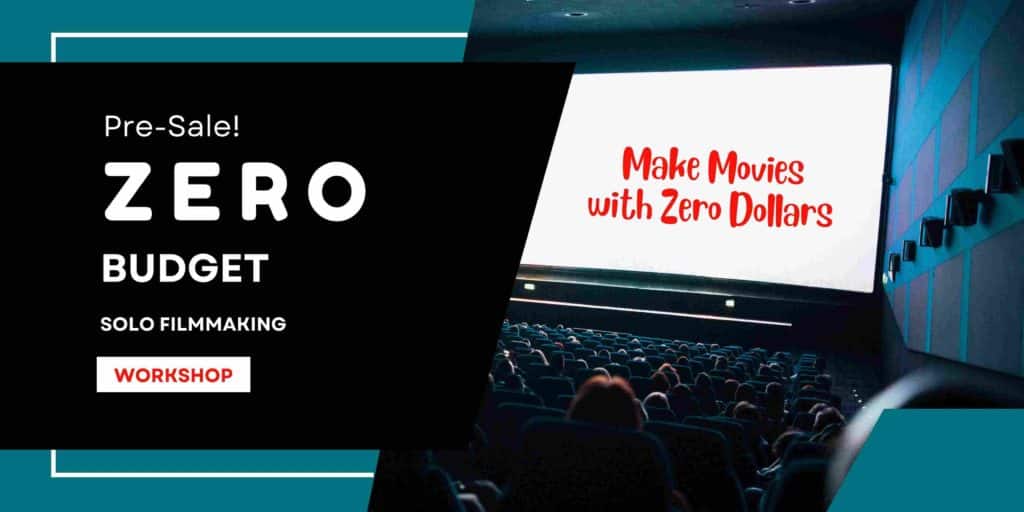
Well, these are just the basics. And trying to make a film from a checklist is not the greatest strategy. So I invited you to join me for the upcoming filmmaking workshop.
If you want to go through a step-by-step planning process and learn how to make a zero-budget film from scratch, please join me in January!
Learn how to make zero-budget movies in 2023.
https://storyenvelope.com/zero-budget-solo-filmmaking
Do you have a filmmaking dream that’s been lying low for a long time?
It’s hanging out in some dusty back corner of your mind like an abandoned library book waiting to be picked up and read. You’re not alone. So how do we break out of a block and get ourselves to take the next best action.
Sometimes to break through a block, you need a little push.
For me, the push to make a feature has been twofold.
1) I’ve come up with the perfect role for a friend of mine, and I want to see her in this character.
2) I’m turning 40 in 2024.
I want to have shot, edited, and released a feature by the time I turn 40.
My birthday present to myself will be fulfilling a dream that I’ve been harbouring for years!
The good news is that I’ve been making micro films since 2013. So I already have a production process that works. I’ve produced, directed, edited, worked with actors, and developed stories from start to finish on many occasions.
But that doesn’t mean that this new project isn’t terrifying.
Fear of sucking is naturally the biggest dragon in my mind right now.
Maybe one of the reasons I’ve created the Zero Budget Solo Filmmaking Workshop is that whenever I’m tackling something scary, I like to help others do the same.
Whatever the subconscious reason, I know this workshop will be helpful to anyone who also wants to make a film in 2023. If you want to make your first short or tackle a feature, you’ve got to have a plan.
In the workshop, we’ll figure out your next best story to tackle. Then we’ll create a production plan you can follow without fear of failure.
So by the end of the workshop, you’ll have a clear vision of where you want to go and how to get there.
Plus you’ll also get:
- DaVinci Resolve Colour Grading bonus where I’ll walk you through how to do a base grade and then add style to your final film.
- My step-by-step round trip process to take your film from Premiere to DaVinci and back, so you don’t have to mess around with half-baked tutorials on YouTube.
- Cheat sheets to speed up your filmmaking pre-production.
- Pre-recorded lessons on core content.
Well, now it’s up to you.
Take a look at the info page and see if this is right for you.
The Zero Budget Solo Filmmaking Workshop is one of the best filmmaking deals you’ll find online because it’s going to help you take the steps you need to make your movie.
It’s designed for action-takers, creatives, and anyone with filmmaking dreams who doesn’t want to wait around for a producer to save the day.
This is the best offer of the year, so click below and check it out.
Click HERE to learn more about Zero Budget Solo Filmmaking!
Read On! More Filmmaking Articles You’ll Love:
🎥 Filmmaking Basics Every Beginner Needs to Know
🎥 Cinematic Lighting: Epic Film Lighting Guide for Beginners
🎥 iPhone Filmmaking Tips for Beginners

About the Author
Hi! I’m Colette Nichol. I’m a solo filmmaker and story strategist based out of rainy Vancouver, Canada. I’ve been making videos and micro films for small businesses and global brands since 2014.
Plus, I LOVE to help aspiring filmmakers pursue their dreams and start making films. This blog is designed to help you gain the knowledge you need to become a filmmaker.
If you want more, get on the waitlist for the Story Envelope Academy Solo Filmmaking Mentorship Program. It opens up one time per year and is the best way to become a filmmaking or video pro fast!
CLICK HERE to get on the solo filmmaking mentorship waitlist.
")